Zip files are an important part of our digital lives.Allowing us to compress and bundle multiple files into one easily shareable package. In this blog, I’ll tell you about how to make a password protected zip file in Windows 11.
A ZIP file, “Zone Information Protocol”, is a widely used file format for compressing and storing files and folders. Created by Phil Katz in 1989.Zip files reduce the size of the files they contain, making them easier to store and transfer.By grouping multiple files and folders into a single zip file, you can keep your digital files under control and organize your files efficiently. It also makes the process of sharing multiple files at once easier. ZIP is a universally supported format. You can create or open Zip files on any operating system like Windows, macOS, and Linux. You have to follow this steps given below to create a password protected zip file.
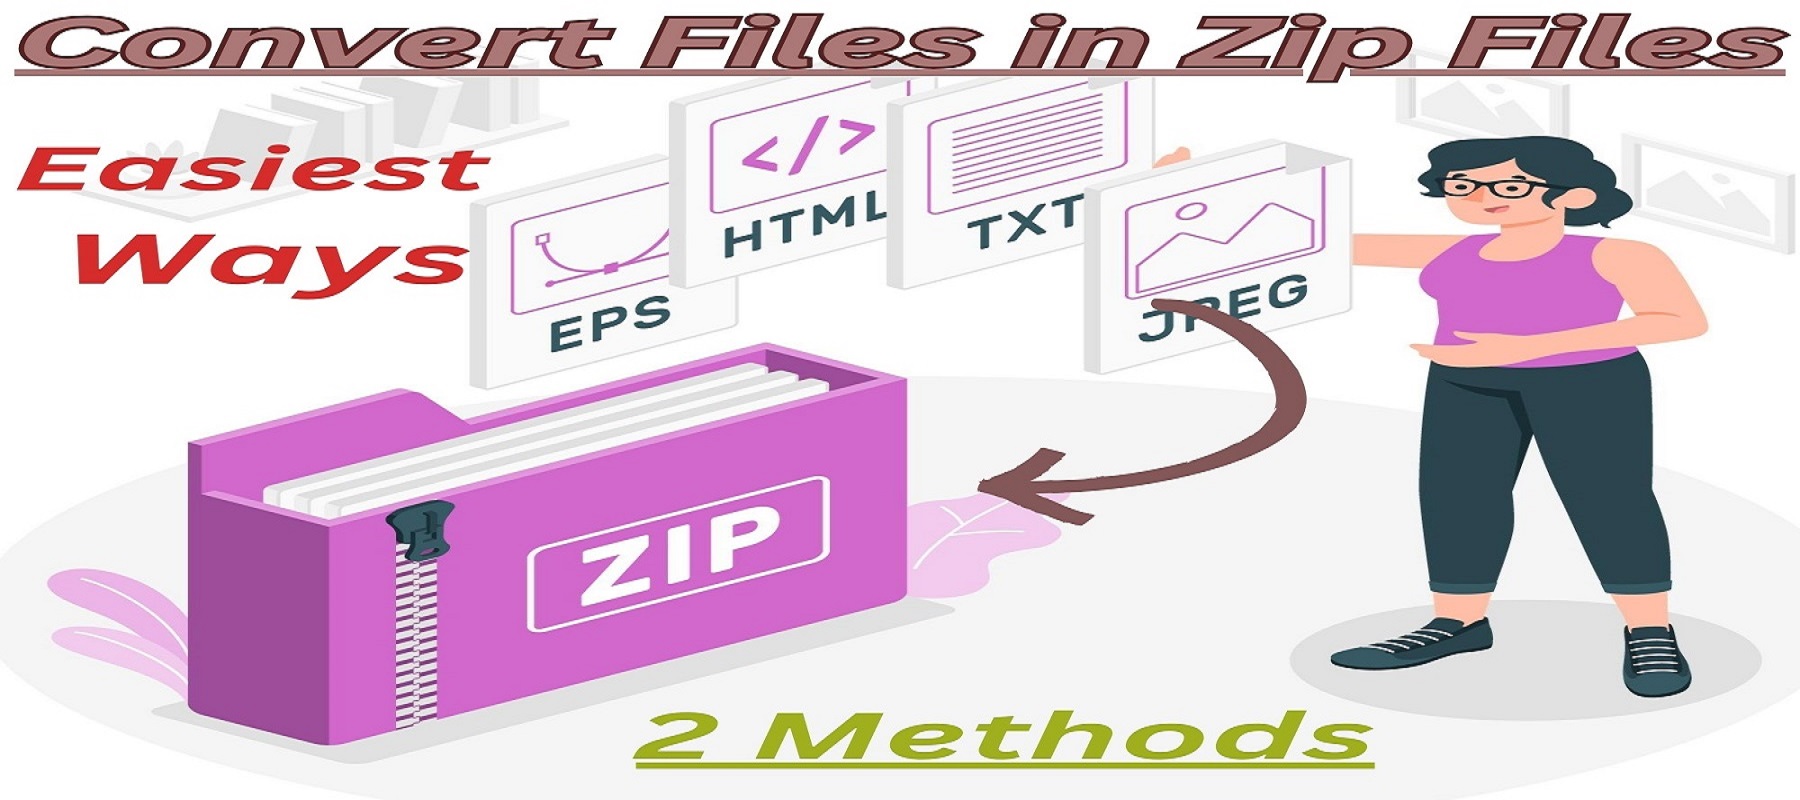
How to Create Password Protected Zip File in 2 Easy Ways-
1) Create a Password Protected Zip File Using WinRAR
WinRAR is a Windows app that will easily convert your files into a password protected ZIP file. You can easily create your password protected zip file with the help of WinRAR. You can follow the steps given below to create your zip file.

1. First of all you have to download WinRAR app in your PC or laptop.

2. Install the app, then right click on the folder or file you want to convert into zip file. Next ,select the ‘Add to archive’ in context menu.

3. After that you have to select zip in archive format.

4. After selecting zip you have to click on set password.

5. Enter the password you want to set in the Enter Password box. After that re-enter the same password and click on Ok.
That’s it, your password protected zip file has been created in your computer/laptop main file. To open the zip file you will have to enter the password which you used when creating the zip file.
2) Create a Password Protected Zip File Using 7-Zip
7-Zip is a free file archiver app that is good at compressing files. This software has been a favorite of programmers and everyday users. 7-Zip has an impressive compression ratio, which can reduce file size significantly without compromising data quality.You can follow the steps given below to create your zip file.
1. First of all, you have to download 7-Zip app in your pc/laptop.

2. Install the app, then right click on the folder or file you want to convert into zip file. Next ,select ‘Show more options’.
3. Next ,select the 7-Zip and then select ‘Add to archieve’.
4. Enter the password you want to set in the Enter Password box. After that re-enter the same password and click on Ok.
That’s it, your password protected zip file has been created in your computer/laptop . To open the zip file you will have to enter the password which you used when creating the zip file.
Windows 11 does not support password-protected files and folders. Creating a password-protected ZIP file with this apps is a great alternative. If you know any other way to create password protect zip files on Windows 11, let us know in the comments.